I wasn’t really “into” yogurt growing up. I tried them all– Trix, Go-Gurt, Dannon, Yoplait– but the runny textures and fake fruity flavors just didn’t do it for me. I would often trade away my yogurt at the lunch table, and eventually my mom stopped packing it. (Thanks for packing my lunch, though, Mom!)
But… the tides turned completely when Greek yogurt hit the market later in my teen years. No longer was yogurt runny and fake-fruity– this was the real deal. I mean, seriously, who doesn’t love Greek yogurt?! (I haven’t met a hater… have you?)
The only downside to Greek yogurt is the price. It’s a high quality product, yes, and healthy and delicious… but did you know that you can make your own for a small fraction of the price? And not much work?! All you need is a crock pot with the “Keep Warm” setting, a kitchen thermometer, a 1/2 gallon of milk, a 1/2 cup of yogurt, 1/2 hour of time, and 1/2 an ounce of inspiration. 🙂
Here is what you need exactly:
-1/2 gallon of dairy milk (you can even use Skim Milk but you’ll have to strain more liquid at the end )
-1/2 cup of pre-made or store-bought yogurt (I think Greek works best)
-Stovetop saucepan
-Crock Pot, preferably one that has a “Keep Warm” setting
-a kitchen or candy thermometer (must include the range 100F to 190F)
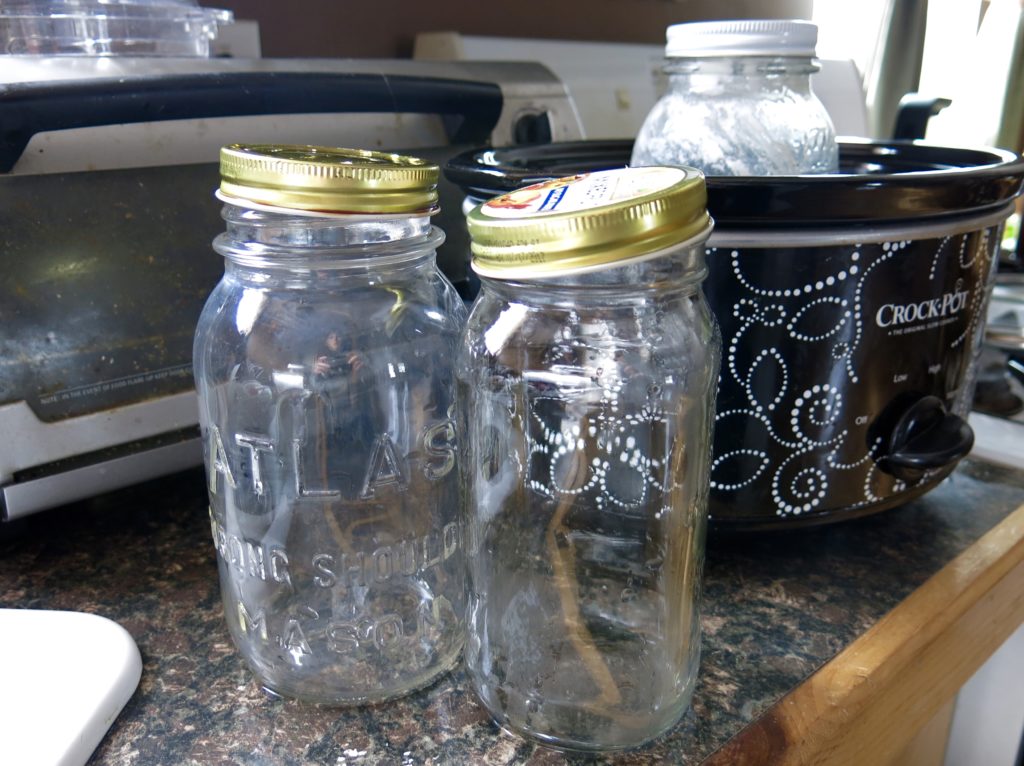
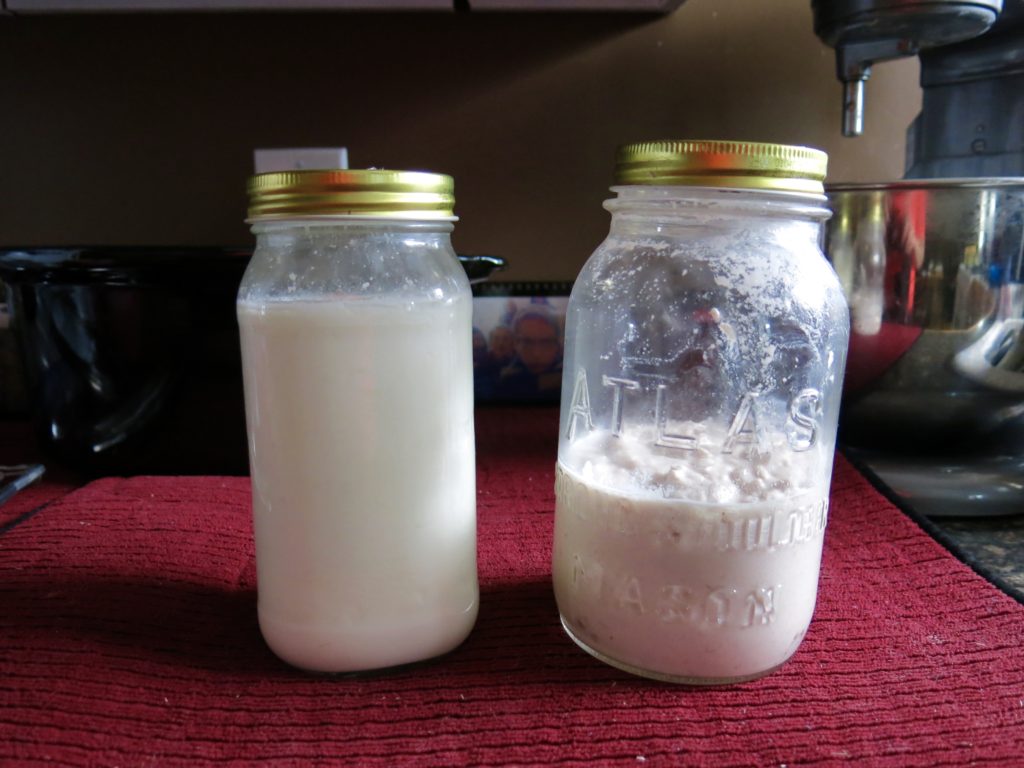
-clean glass jars with lids (preferably 2 quart-sized Mason jars)
You can also make yogurt without the jars, right in your crock pot! It looks even easier so I want to try this next.
The method:
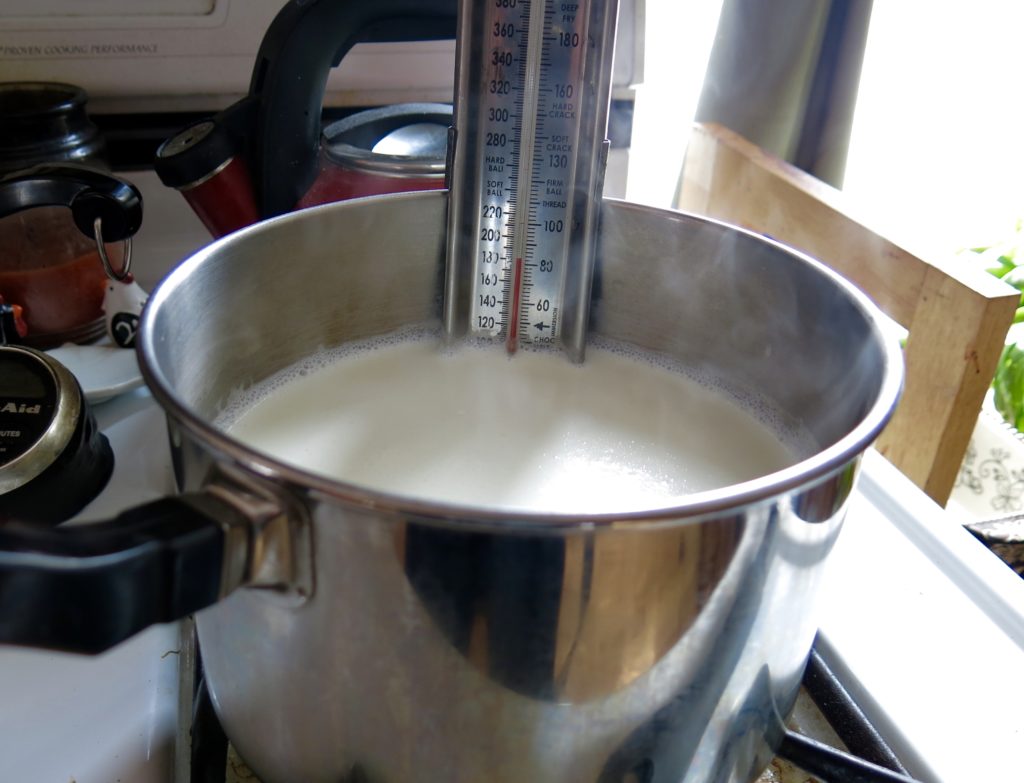
- First, pour your half gallon of milk into the saucepan. Put it on the stove and turn to Low heat. Put your thermometer in the saucepan, submerged in the milk so that you can keep an eye on the rising temperature. You want it to reach 180-185 degrees Fahrenheit (no higher). This should take about 10 minutes on Low heat. (Note: If you’re at all curious, the reason you heat the milk is to disrupt some of the protein structure so that it coagulates better, yielding a thicker yogurt!)
- As the milk heats, prepare your jars and Crock-Pot waterbath. Wash the jars and lids with hot water and soap and set aside.
- As soon as your milk reaches 180-185 degrees, turn off the heat. Now you will need to let the milk cool back down to 115 degrees. This will take 20 minutes unless you want to speed it up (put the pan in the fridge, surround it with ice, or put it outside if its winter time!)
- Meanwhile, fill your Crock Pot with warm tap water and check the temperature with your thermometer. The Crock Pot water should maintain at 90-110 degrees Farenheight (not more than 115). Adjust with hot or cool water to bring to temperature.
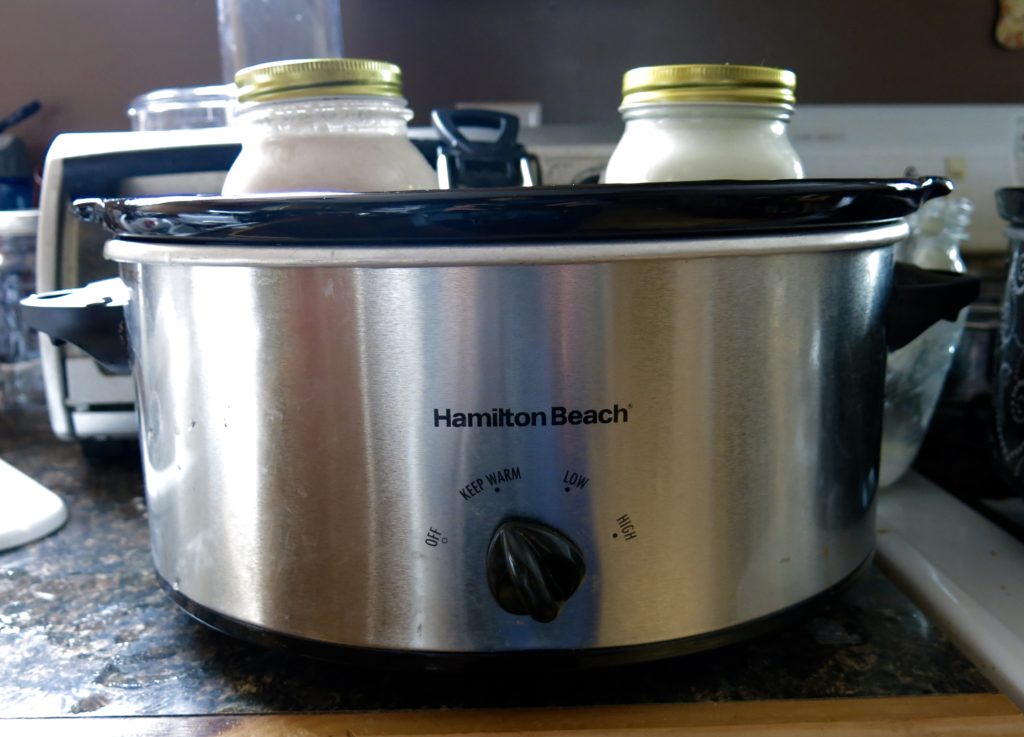
- Then turn the Crock Pot on to the “Keep Warm” setting. *If your Crock Pot does not have a “Keep Warm” setting, there are many other ways you can maintain an incubation temperature of 90-110 degrees. You can turn off your crock pot and cover it with a towel which should do the trick if it’s warm in your house. You can also use an oven, an insulated cooler, a dehydrator, or a nifty yogurt maker (about $20-$50 on Amazon). You can also find a warm place in your house, like on top of your wood-burning stove. Before trying any of these other ways, make sure your method can maintain water at 80-115 degrees for a few hours!
- While you are waiting for your milk to cool, you can get your yogurt “starter” ready. Take a 1/2 cup of pre-made or store-bought yogurt out of the fridge and let it warm up to room temperature.
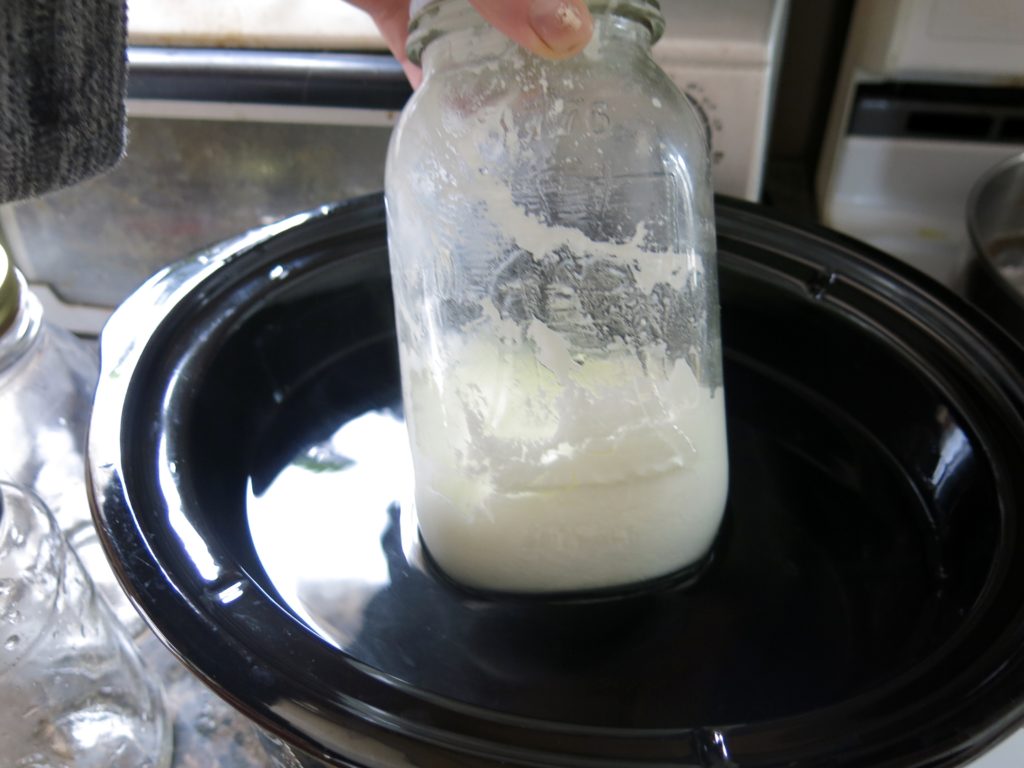
- Finally, when your milk has cooled to 115 degrees, add your pre-made yogurt “starter” to the milk. Use a clean fork or whisk to stir it into the milk. Now your milk is ready to pour into your glass jars and get cookin’.
- Place the jars of milk in your Crock Pot water bath. The water should come up as high on the jars as possible. Now you just have to let them sit undisturbed for 6-10 hours. No babysitting required! You can leave the house, go to bed and let it incubate overnight, whatever you need to do, as long as you are sure the temperature will stay below 115. You can check on it a few times if its your first batch.
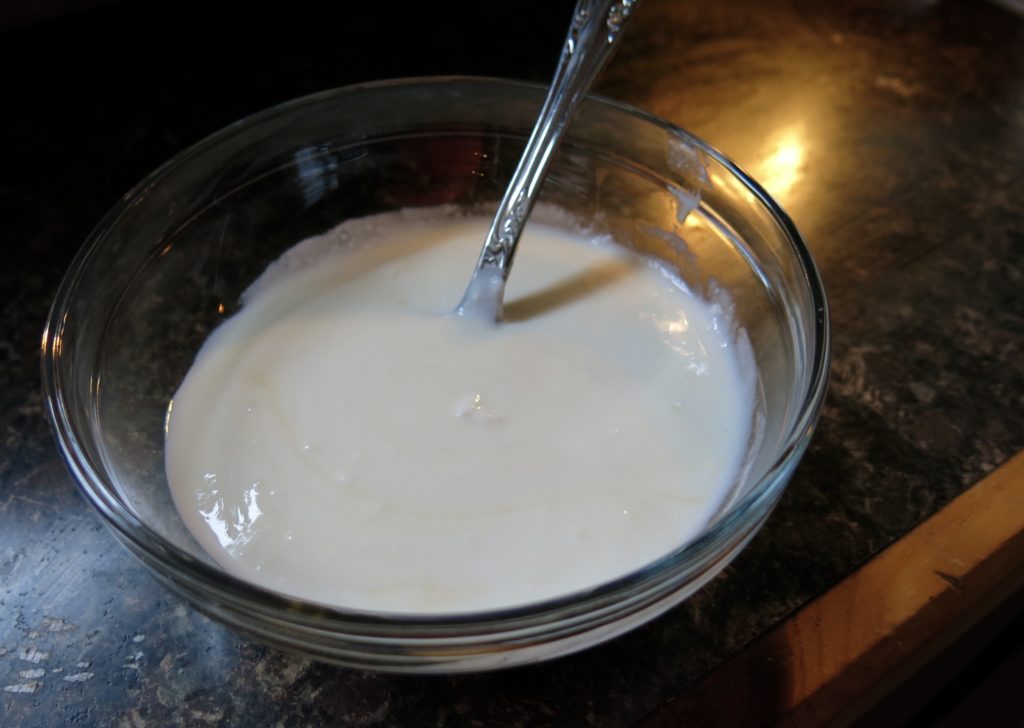
- After 6 to 10 hours (watch for thickness) your yogurt will be ready! You may notice some clear liquid surrounding the yogurt. That’s called “whey” (think whey protein) and you can easily pour it off (or use it to add protein and calcium to other recipes).
- Put your yogurt in the fridge to thicken up. If it’s still not as thick as you want it, you can strain it. Place a soft, clean cloth (T-shirt material works well, or 2 layers of cheesecloth) into a colander and pour the yogurt over it. Place the colander inside another large bowl and let it strain in the fridge for 2 hours. Wahlah! You’ll have the thick yogurt of your dreams.
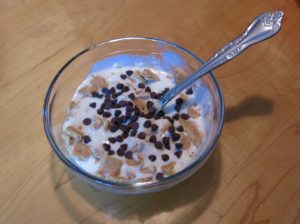
How do you use your Greek yogurt? My favorite way is to use it as a topping on savory soups… or salad or tacos! Casey’s favorite way is to flavor it up with vanilla, fresh fruit, graham crackers, or chocolate chips.

Let me know if you’re interested in trying it and if you have any questions whatsoever. Just comment below or contact us here. Happy yogurting!
Regrettably, Claire is not a fan of Greek yogurt. But maybe she’ll like yours!